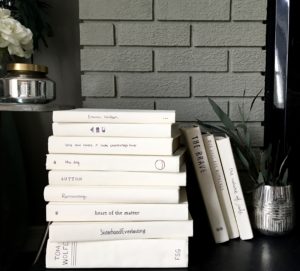
DIY Chalk-Painted Book Tutorial
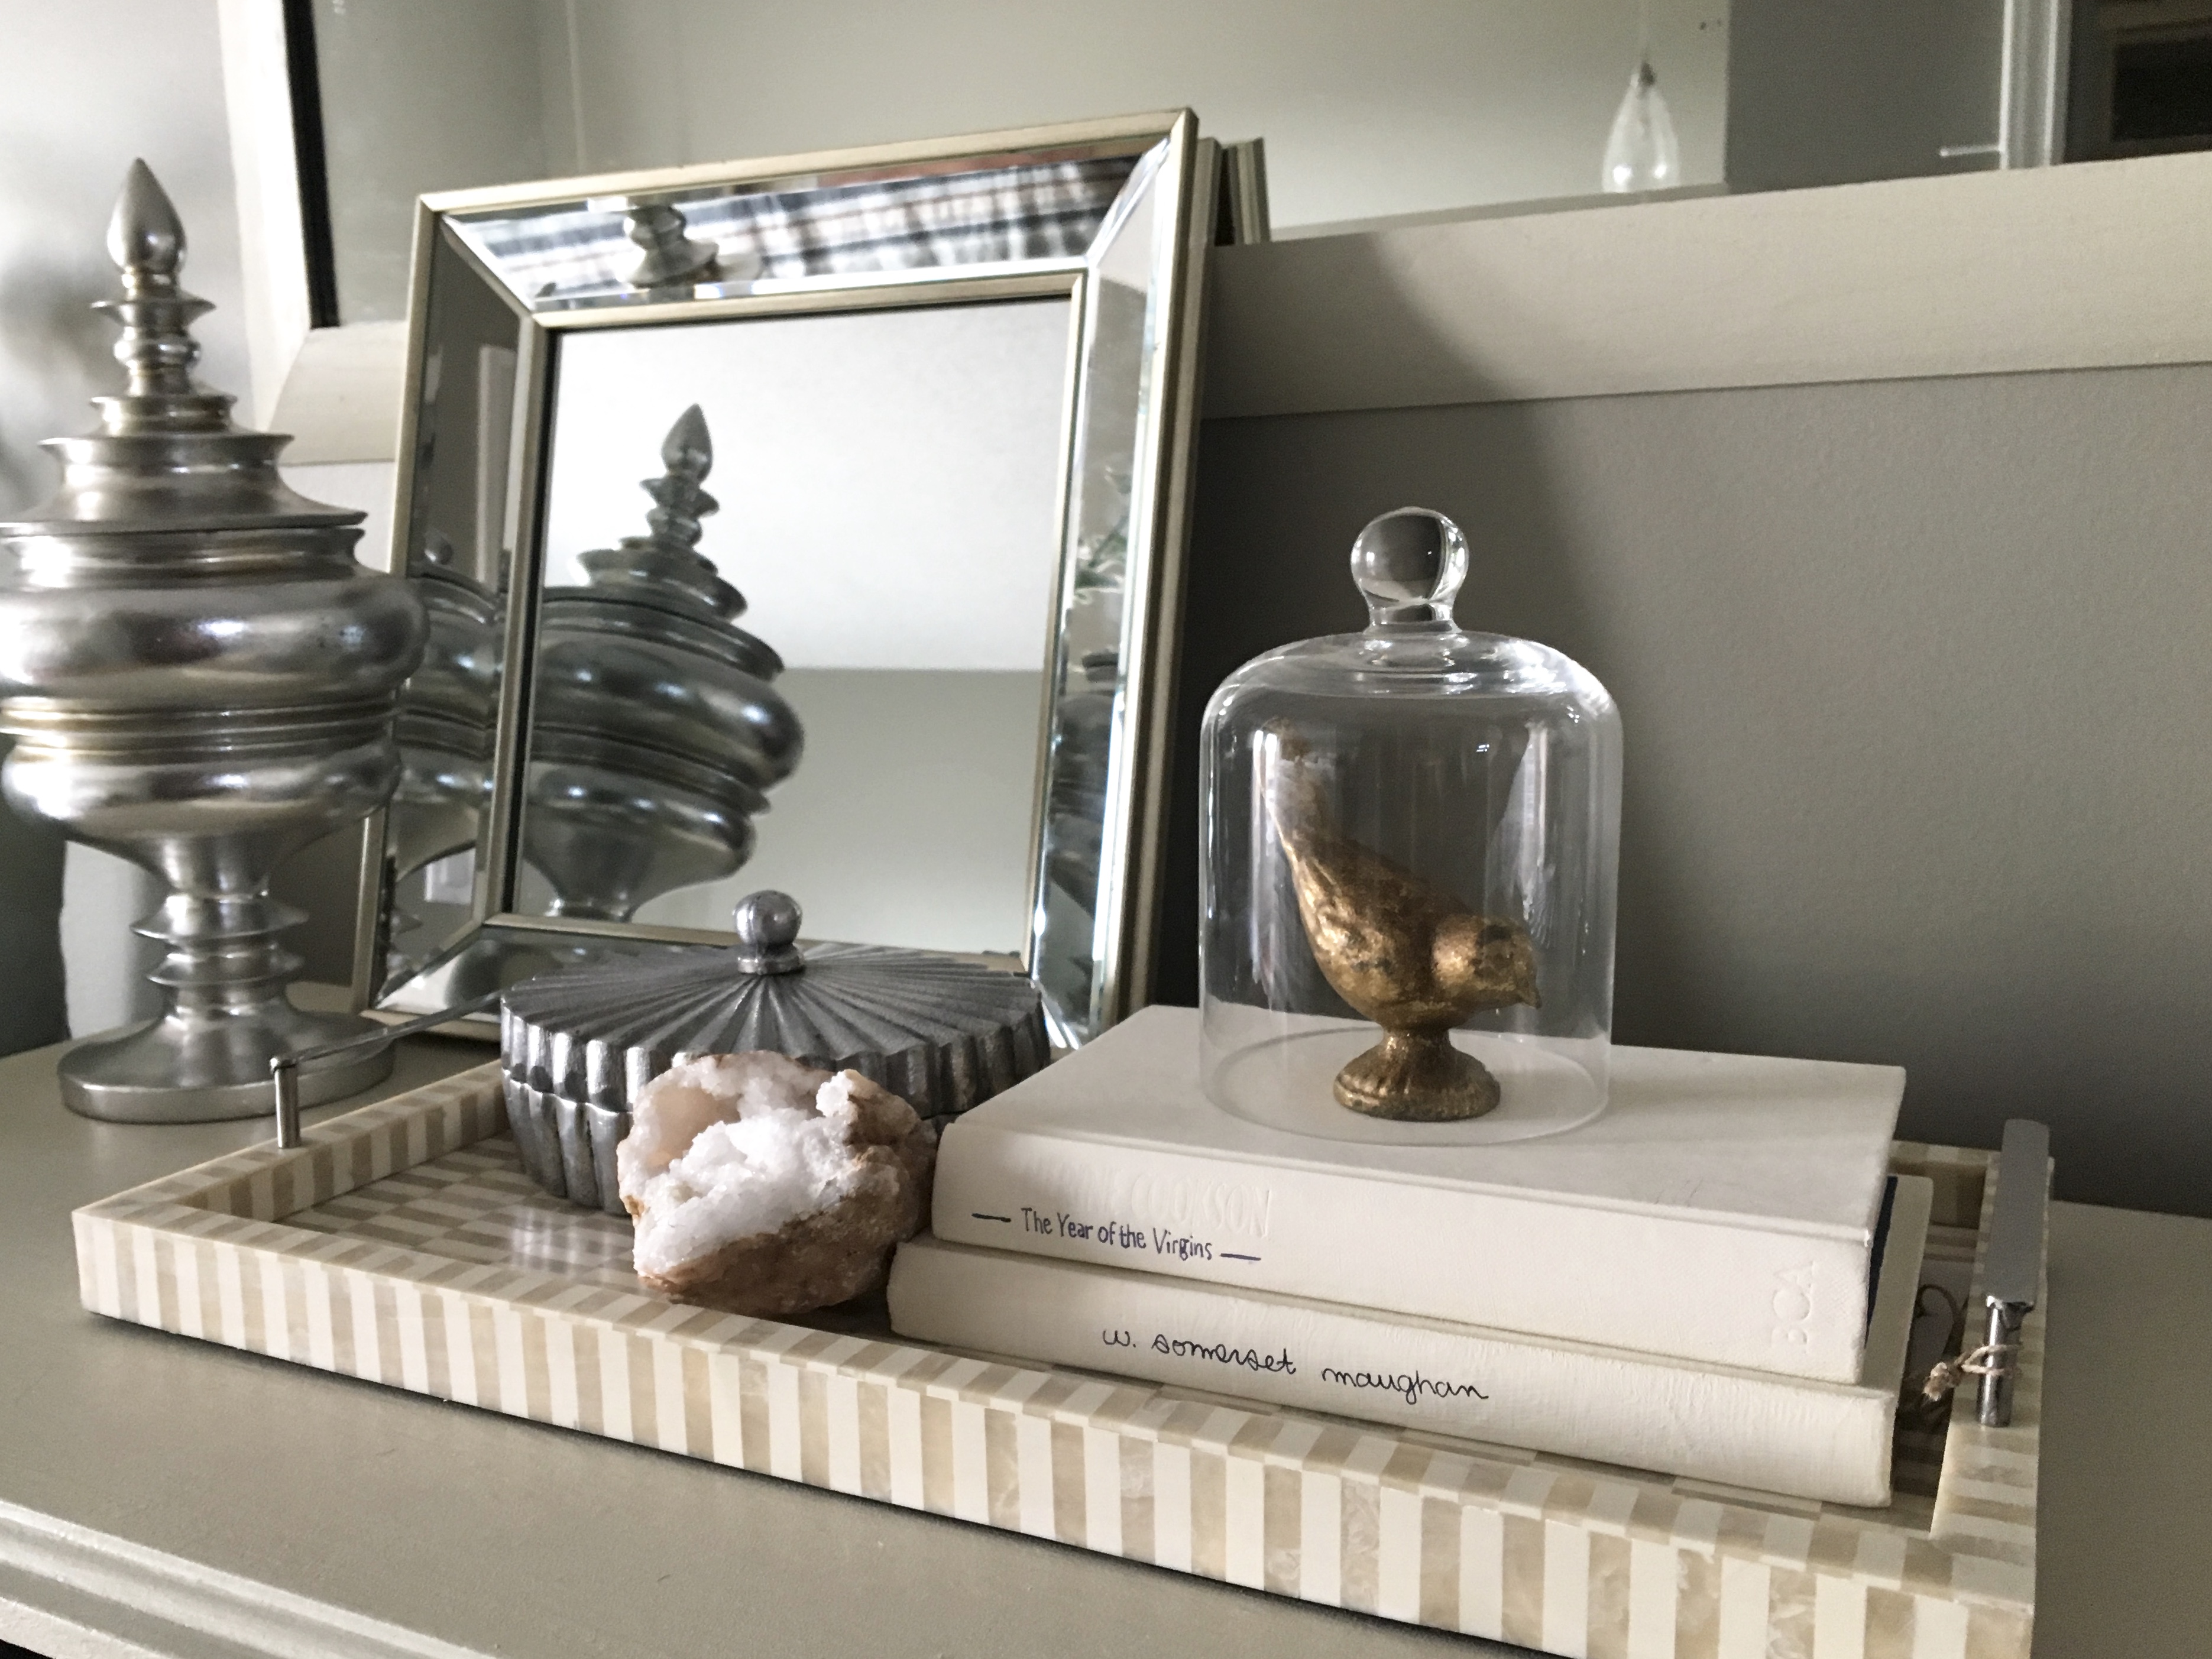
Books are a wonderful tool in design. I use them often to create levels, to add character and make a space feel more lived-in, to add color and texture, and so much more. Generally, I load up on piles of vintage books from my local thrift stores, in colors that work well with the room. For a recent master bedroom project, I kept coming up empty. I scoured every store near me, on two separate occasions and couldn’t find any books, at all, in beige/white/creams.
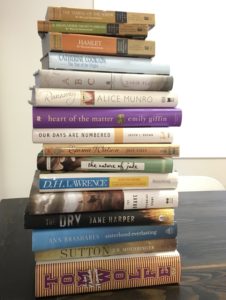
Now, I’m a book person. I LOVE books. When it first occurred to me that I could paint them, I was immediately horrified with myself (ruining perfectly good books?!) BUT, I had a client waiting on me, and I knew books were the right answer to a few spots, so on I went. I picked up a pile of hardcovers from my local thrift store, favoring ones that were lighter in color, where possible. I also grabbed a couple paperbacks to see if I could get away with painting them, too.
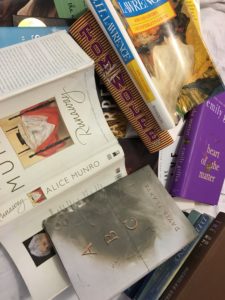
I chose CraftSmart Chalky Finish paint in Parchment, from Michael’s. It came in a small jar, and it was a thrifty pick. Since these books will just sit in place, as decor, I wasn’t terribly worried about how the quality would be, but the quality was just fine. First, I removed all the dust jackets, and tossed them. I covered the table with my drop cloth and laid out a few paintbrushes. I ended up using a fairly large painters brush (1.5″, maybe?) instead of my smaller art brushes, because it covered everything really quickly.
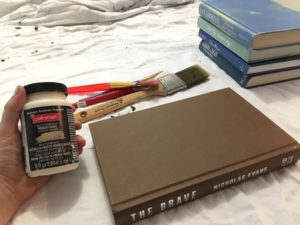
I propped each book up on the table to dry as I went. Every book took two coats- even the darker books. Because chalk paint dries so quickly, as soon as they all had one coat, I went back to the first and reapplied. At that point, I was done. However, if you’d like to still be able to use the books, I’d recommend a quick, light sand with fine grit paper and a coat of wax. Without the wax, they will chip up and scrape easily. I had no problems moving mine around and packing them in and out to my client’s house, but I know they wouldn’t hold up to regular use.
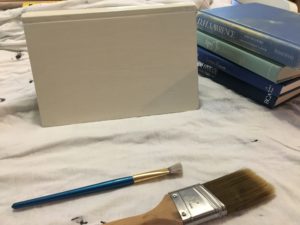
When they were all dry, I added titles to each spine with a black 0.7mm permanent ink pen. Some of the spines had embossed lettering that I used as a guide, and others didn’t so I just winged it. I had a few tiny mistakes that I covered up with more paint before trying again.
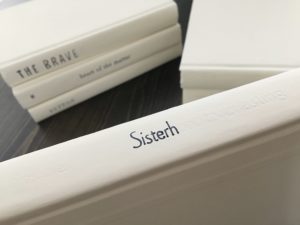
This was such a simple way to add stacks and stacks of coordinating books to my client’s master bedroom. I would definitely do it again, despite my initial reservations. They look beautiful, are being put to use and will be well loved in their new homes!
