Decluttering vs. Minimizing (Everything you need to know about decluttering)

This past weekend, I spoke on decluttering vs. minimizing at an event held by some local Realtors on downsizing. When considering downsizing, it’s important to focus on owning less, rather than just getting rid of some things. If you simply purge half your possessions before moving without adjusting your mindset, a smaller home will quickly clutter up or leave you feeling like you don’t have enough. Whether or not your downsizing, chances are you have a problem area in your home. The truth is, everyone has at least one spot in their house that they feel overwhelmed or embarrassed by.
You see, we own a TON of “stuff”. The average American home contains 300 000 items. That’s over a quarter million! And an average 10 year old owns 238 toys (worth about $9000), but only plays with 12 favourites daily. It’s obvious that we have far, far more than we need, or even really want. All the excess shopping, accumulating and owning is eating up all our free time.
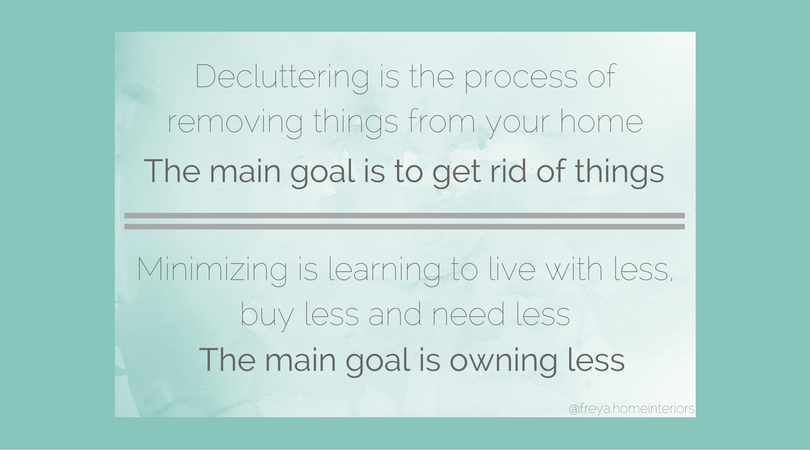
Decluttering is the process of removing things from your home. The main goal is to get rid of things.
Minimizing is learning to live with less, buy less and need less. The main goal is owning less.
When you own less, you have less to manage. This frees up mental energy, time and offers more freedom. Normally, the purpose of downsizing is to minimize work load and financial responsibility. Whether or not you plan on moving into a smaller space, owning less brings a lot of freedom and peace! With this in mind, the initial focus (step 1) should on moving as much as possible out, as quickly as possible. Once the chaos and excess is in check, the focus shifts (step 2) to owning less, and buying less to maintain the initial result.
Step 1
Warm-up:
I always recommend my clients begin with their closet. We all have things that we don’t wear and it’s an easy place to practice letting things go that no longer serve you. Gather a box or bag to hold donations. Start by taking every item out of your closet. Lay it on your bed or hang it on a freestanding clothing rack. One by one, pick up the items. If you don’t immediately know you want to keep it, ask yourself:
Does it fit well? When was the last time I wore this? Do I love it?
If you hesitate on any of those questions, toss it in the donate pile. Don’t overthink! Organize clothing in sections as you replace each item back into your closet. I have my formal wear in the back, then day dresses, jackets and cardigans, long sleeves, short sleeves and tank tops. Having the longest/bulkiest/heaviest items at the back and smaller items up front, makes it easy to glance in and see what’s there.
Holding onto clothes you don’t wear, creates more for you to manage, without any payoff.
Dig In:
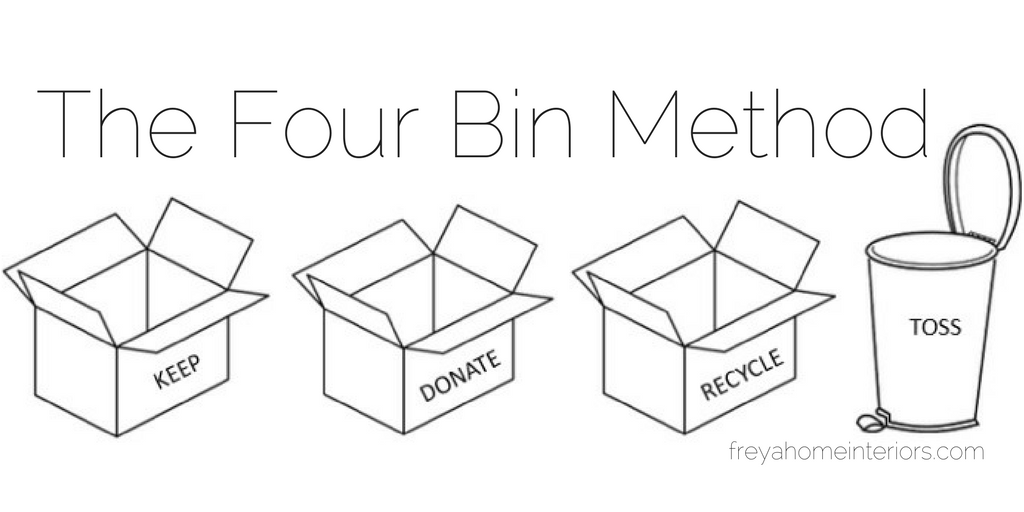
Now, it’s time to pick another area. Your junk drawer, desk or bathroom are good starting points. This four bin method is a great way to manage this process because it takes the guess work out. You’ll need one bag, box or bin for keep, donate, recycle, toss.

Don’t let yourself get stuck! Just pick up one item at a time and put it in the appropriate bin. As you go, whenever you come across an item you’re not sure about, ask yourself:
Do I need this? When was the last time I used it? Do I like it? Can it be replaced if needed? Does owning this give me energy, or drain my energy?
Once everything is in the appropriate bin, it’s easy to lose momentum. Don’t sit down! Don’t grab a cup of coffee! Finish strong, so you don’t end up with a bunch of neglected, overwhelming piles. First, toss the garbage and the recycling right away. (No, seriously, take it outside now!) Then put the donations bag in the front seat of your car, where it can nag you until you drop it off. I recommend donating at the most convenient place, wherever it might be. Some charities also offer pickup if you don’t have a vehicle or have mobility challenges. Now, you’re left with the somewhat daunting keep bin, but don’t worry, we’ve got this.
Tackling The Keep Bin:
Your new motto is “everything in its place and a place for everything”.
-Put away items in the keep box that already have a home. In fact, you may have already done much of this as you went, maybe replacing loose pens in a pen cup or putting all the kids’ colouring books in the proper basket.
-Next, organize like items into piles. If you’re going through your kitchen tools and large utensils, you may have piles for baking items, measuring items, serving spoons, knives, scoops etc.
-Take a visual inventory. You may discover you kept four ladles and only need two. Put the extras by the door to add to your donate bin! Take stock of what you have and consider the best spots for them.
-THIS is the time to buy organizational accessories or storage furniture if you need them. If you shop for supplies before you start, you’re at high risk of buying the wrong thing or too many/too few of the right thing. Planning and purchasing a system after you’ve done the hard work will help you stay motivated and prevent that pile of empty extra containers and organizers that so many people have!
What about selling items? I recommend donating the vast majority of items, rather than selling them. The goal is to move as many things out, as quickly as possible to prevent you from stalling out. For high value items, or in situations where the money is needed, etc. list as you go. Keep your phone nearby (but not too handy) and post things when you find them, or all at once after you take out the garbage, recycling and donations. Set a reminder in your calendar. If it hasn’t sold within a week, drop the price significantly or consider donating. It’s likely not worth the continued energy drain of managing it.
You made it! NOW, have a seat and make that cup of coffee. Next post: 12 Handy Spots To Donate of Recycle Used Goods


